Last Updated on January 11, 2022 by Practical Astrophotography Staff
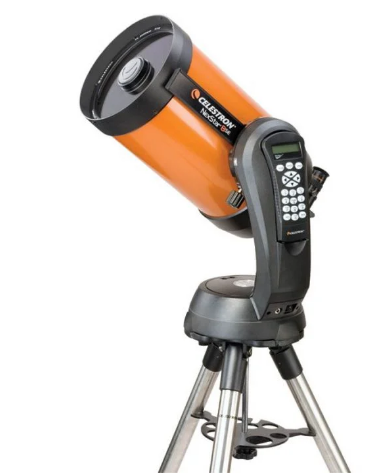
The Nexstar Series of Telescopes are a great “First Scope” for those who want a computerized “Go-To” scope which can also be used for basic to intermediate Astrophotography. The Nexstar is capable of resolving the rings on Saturn as well as the bands of Jupiter with the proper accessories.
It is not uncommon for those who are just starting out with this scope to be a little confused or need some additional clarification for getting the “Go-to” feature setup.
SkyAlign
Introduced with NexStar hand control version 4 (first included with the CPC) and available in all newer versions, SkyAlign is an entirely new approach to aligning an alt-az mounted telescope. SkyAlign requires no knowledge of the night sky and as such is designed for beginning backyard astronomers. In a nutshell –
- you set up the telescope
- provide your location and the date and time (GPS-equipped models will automatically retrieve this information)
- center 3 bright objects (you don’t even need to know their names) in the eyepiece.
- Viola, The scope is now aligned and ready to Go(To).
Before you get started please ensure the following prerequisites are already in place
- Finder scope has been aligned with the Telescope
- A wide-field eyepiece is available – the higher the number on the eyepiece the wider the field of view it has. i.e. – 25mm is a wider field of view than a 9mm
- This guide assumes your scope does not have the GPS module
The Alignment Procedure:
- Turn the Power on.
- The Nexstar Hand controller will display a message ‘Verifying Packages please wait”
- Press ENTER to begin and then ENTER again to begin the alignment process.
- A menu will appear where you can choose what alignment technique you would like to use. We suggest SkyAlign. Press Enter once you have highlighted “SkyAlign”
- The hand control will show either the current time or the time when you last used the scope. The top line of the display will cycle through the messages, “Enter if OK”, and “UNDO to edit”. use the Up and Down buttons (6 and 9 on the keypad) to scroll through the date, time, and location settings. If they are all correct, press Enter to accept and proceed with the alignment. If they need to be adjusted, press Undo and make any necessary corrections.
- Next, you will see a short message about what the telescope will do in order to align – press ENTER to continue.
- The display will now prompt to Center Object 1. Prior to beginning, you should scan across the sky looking for three bright stars. Two of them need to have wide separation(meaning on opposite sides of the sky, This might not be possible if you only have clear skies in certain areas or if you have obstructions like your neighbor’s house or tree), the third should not be close to the line connecting the other two.
- Use the arrow buttons to slew (move) to the first of your bright stars. Center the object in the finderscope and press ENTER. Then center the object in the eyepiece and press ALIGN. Repeat for two additional objects and you are finished.
Note – Alignment is not always needed. If you want to pop out for a quick observing session of the Moon, you would not be required to complete this entire process. You could set up your scope and simply slew the telescope to point at the moon. The alignment process is only needed if you want to use the built-in Computerized “Go-To” features. It is nice to have the “Go-To” feature so that you don’t have to manually center each object, but it is not a requirement to enjoy your scope.
For a more in-depth step by step visual guide, Celestron has the following video –


