Last Updated on May 25, 2022 by Zalman Wainhaus
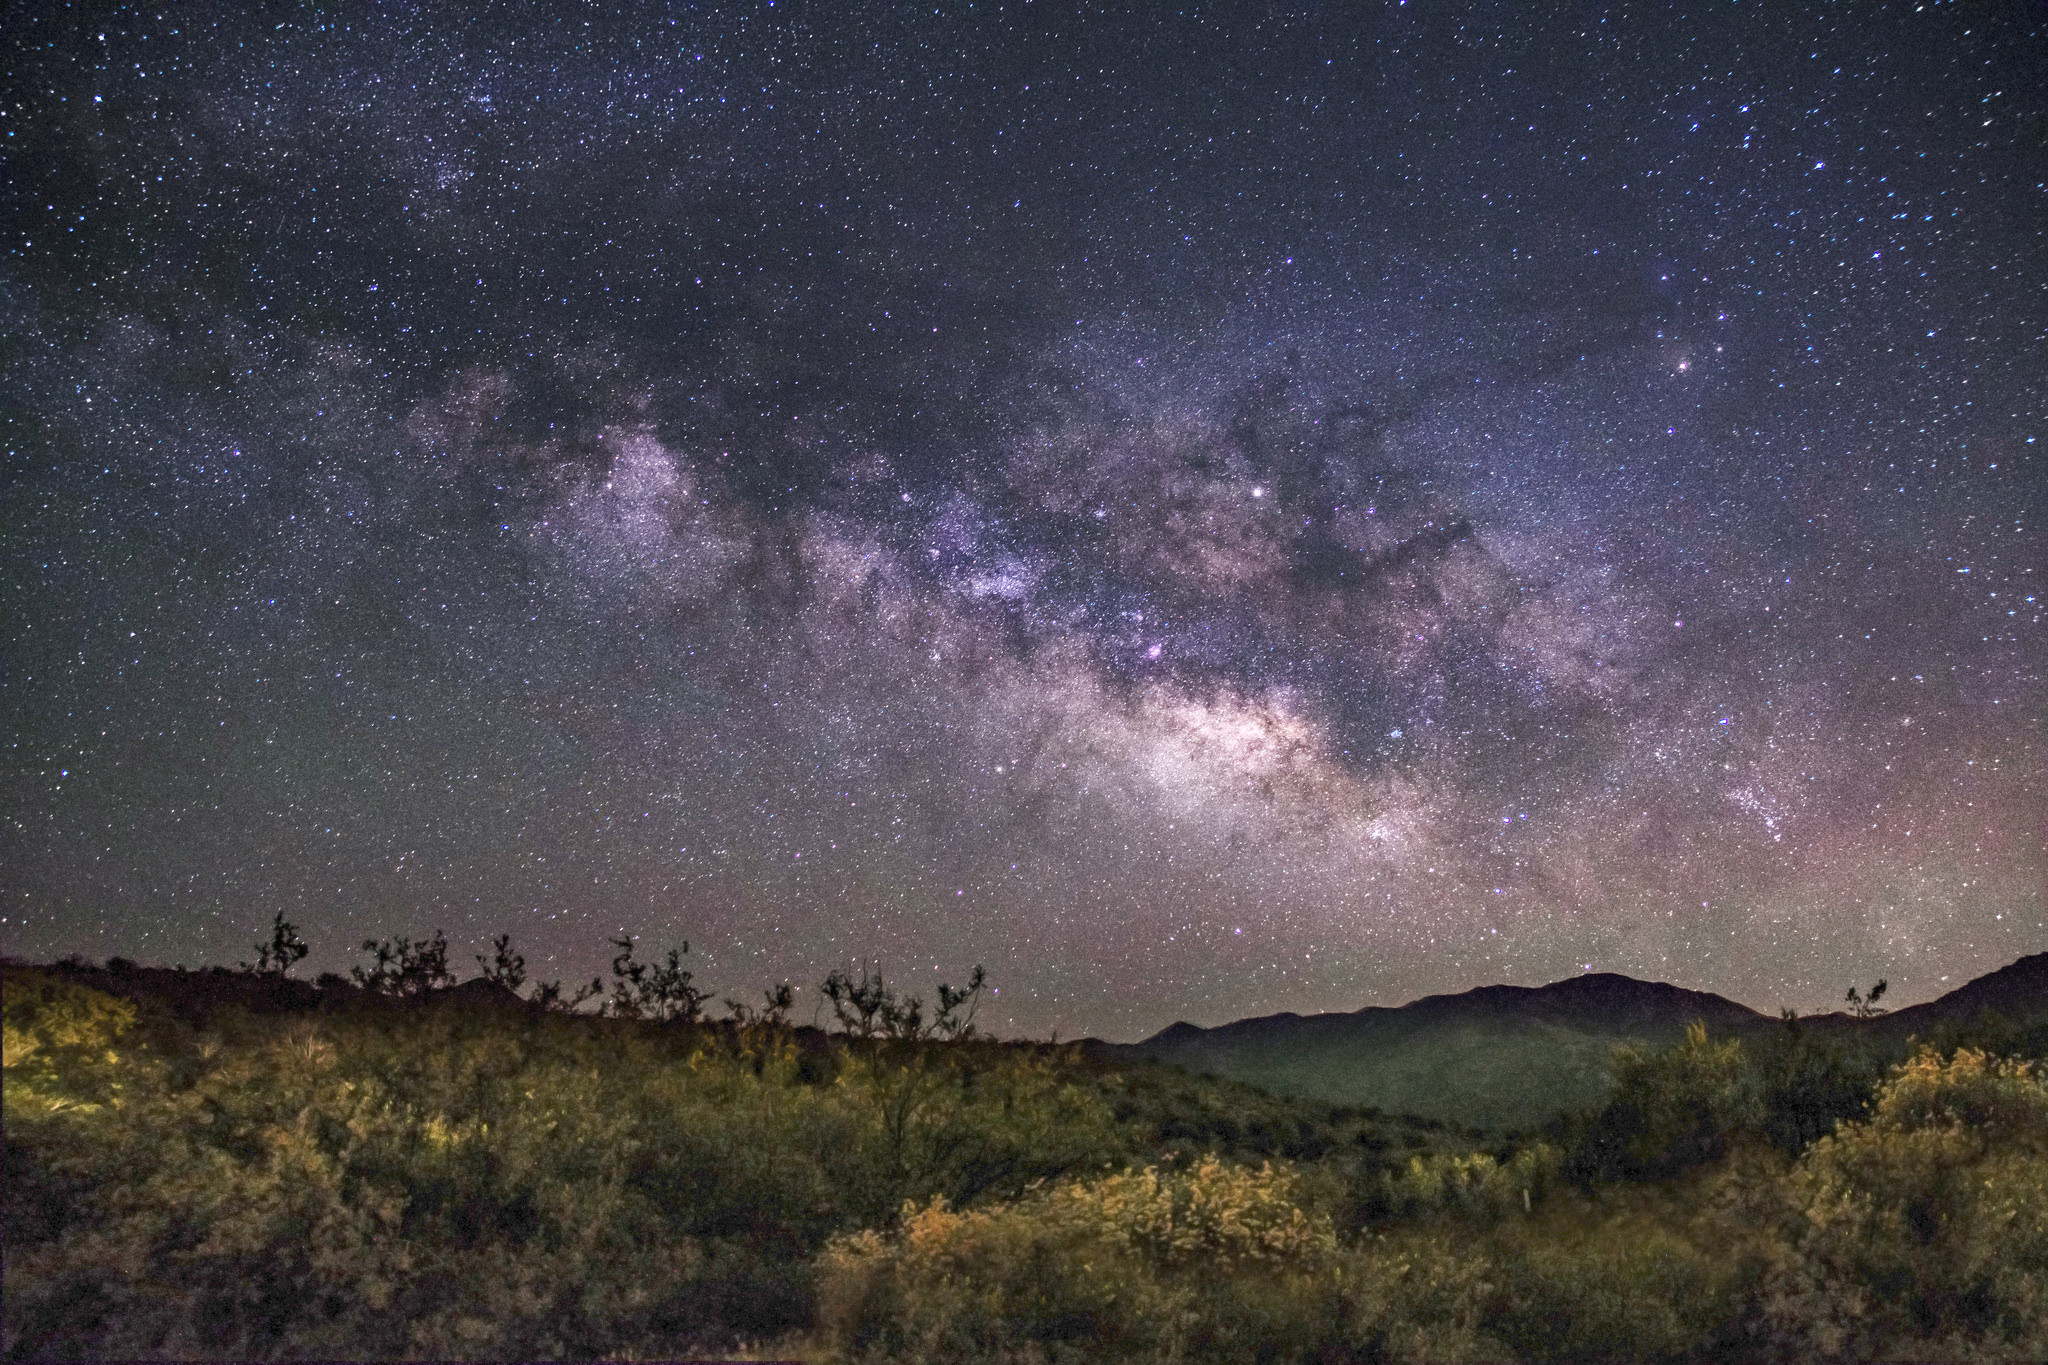
THERE IS NOTHING QUITE LIKE CAPTURING THE MILKY WAY IN A PHOTOGRAPH. THE ROAD TO GETTING SUCH AN IMAGE FOR THE FIRST TIME, HOWEVER, IS LONG AND FULL OF MANY STEPS AND PROCESSES.
I still consider myself a beginner for this sort of photography, but I’ve spent much time researching and learning how to take photos of the Milky Way. In the following
paragraphs, I will walk you through my process, from the preparation and tools used to helpful tips when out in the open, capturing your shots.
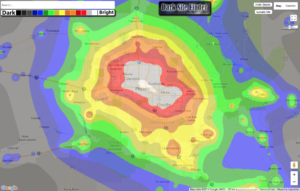
First, a reality check: In order to capture a photo of the Milky Way, there are some must-have items you’ll need. The first is a dark sky. This is actually not such a simple to achieve for most people who live under bright city lights. Because of light pollution in large cities, it won’t be possible to see or capture the Milky Way unless you venture out far away from those city lights. I use a website called DarkSiteFinder.com, which contains a useful map of the world that shows the amount of light pollution in any given area.
The darkest skies are in the green, blue, purple and black areas, while the most light polluted areas are gray, red orange and yellow. Obviously, you’ll want to be in the green to black areas to capture the best Milky Way shots. But another crucial point to consider is where the Milky Way is located, and in what direction you are facing. You’ll want the area of the Milky Way you are shooting to be in a direction that is a green to black area. So, using the map of Phoenix as a reference, if you want to capture the Milky Way facing south, you don’t want to be set up directly north of the city, even if you’re in the green, because the area you’re shooting is much more light polluted. You’ll want to be east, south or west of the city.
So where can you find the Milky Way?
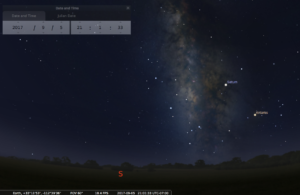
There is a great free program I use called Stellarium (available for Mac and PC). Using it, you can determine where the Milky Way will be on any given night, in any year. Generally speaking, in the US, the Milky Way is visible between March nd October, with it rising in the east during the Spring and setting in the west during the Fall, with the core of the Milky Way (the galactic center) appearing in the south portion of the sky.  However, when the moon is visible at night, the brightness of the Milky Way is greatly reduced. It is therefore best to photograph around the new moon. Another consideration, of course, is the weather. You’ll want generally clear skies for optimal results, though using the clouds can create some beautiful images.
So, you know where to find the Milky Way, you know exactly where you’ll be set up to capture the Milky Way away from city lights, and you’ve got clear skies and no moon. Now that you’ve got all the initial planning out of the way, let’s talk about the required tools.
One item that is essential is a sturdy tripod. You’ll be creating long exposures, so you must ensure your camera doesn’t shake or move at all. In conjunction with this, to ensure your images come out sharp, you’ll want to use either a timer to take your shots (two seconds should be fine) or a remote cable release. Secondly, you’ll need a DSLR that is capable of shooting long exposures with fully manual settings. And finally, you’ll want a good lens with a wide aperture to allow in as much light as possible. Generally speaking, for a shot that captures a good portion of the Milky Way, you’ll want a 24mm lens or wider, with an aperture of at least f/2.8. An optimal lens would be a wide angle 17mm at an aperture of f/1.4. I use a Tamron 17mm lens with an aperture of f/2.8, and I get good results.
Now, let’s discuss the camera settings. The most difficult part about capturing the Milky Way is retaining a long enough shutter speed to let in as much light as possible, while keeping your ISO down as much as you can for maximum sharpness, while also not using a shutter speed that causes star trails. Star trails are a result of the earth’s rotation, so if your camera’s shutter is open for, let’s say, a minute, the stars appear to move through the sky enough during that minute to cause streaking in your image. There is something called the 500 rule that astrophotographers use to make sure the stars in their shots aren’t trailing. You divide 500 by focal length of your lens, and that is how many seconds you can leave your shutter open for the stars to remain points. So for my 17mm lens, dividing 500 by 17 gives me about 29. So I could keep my shutter open for 29 seconds before star trails appear. I tend to err on the side of caution, and use a shutter speed of 20 – 25 seconds, just to be sure I’m getting pinpoint stars.
In terms of the ISO, the better the camera, the higher your ISO can be while still retaining sharpness. I generally use an ISO of 2000 to 2500 on my mid-range DSLR. On top of the line cameras, you can boost that to 6000 or more. Try it out and see what works for you.
Another difficult task in capturing the Milky Way is getting it in focus. Because it’ll be absolutely dark, your camera won’t be able to autofocus, so you’ll have to switch over to manual and focus on infinity. I usually use Live View, zoom in on a bright some images with a really high ISO, like 10000, so you’ll get a good idea of what your composition looks like. Yes, it’ll be noisy, and won’t be your final image, but it will give you a preview of your shot without having to wait for that long exposure to be over. With an ISO of 10000, you can keep your shutter open for just a few seconds and then review your shot.
Once you’ve got your shot, you can celebrate! But the battle is only half won. You must now work on processing your image, because a RAW image straight out of the camera never has the right amount of brightness or contrast to be considered a finished product, and this is especially true when dealing with a subject as difficult to resolve as the Milky Way. For post processing, the general rule is you’ll want to boost brightness and contrast as much as possible without making the image too grainy or unrealistic. Also, you may need to adjust your color balance since very often some greens or magentas will appear in your image where there should only be a deep blue or black. Correctly processing a photo of the Milky Way is in itself an art form, and different photographers will choose to enhance their Milky Way photos differently. I personally like to show as much contrast and brightness as I can while maintaining a realistic view of the Milky Way.
Capturing the Milky Way is an exhilarating, memorable, yet difficult process. But the difficulty of it all and the amount of preparation involved is what makes it so rewarding. So, get out there (ideally, waaaay out there) and start capturing photos of the galaxy we call home!
About the author:
Zalman is a landscape and nightscape photographer and digital artist from Phoenix, Arizona. You can reach him at [email protected], and see his work here:
https://www.flickr.com/photos/zwainhaus/
https://dribbble.com/zwainhaus


